At Summit 2025, Adobe announced a wave of exciting updates to Marketo Engage.
Many of these features have been generating quite a bit of buzz over the last few weeks, especially the ones that lean on AI to expedite email creation and design work.
As a result, several other new updates have taken a back seat, but we want to shine a light on those too. They’re valuable improvements that Marketing Ops folks will love.
While we won’t be listing every single Marketo update that was announced, here’s a recap of the most hyped & the most overlooked ones!
![]()
The Most Hyped Marketo Updates from Summit 2025
Let’s start with the updates that we’ve seen talked about the most, largely because they integrate AI enhancements in new and exciting ways.
Revamped Email Designer: Marketo’s new email design experience is here. It will include a Gen AI content assistant to help write copy and generate images, support for Handlebars scripting for advanced personalization (stay tuned for our guide on that soon!), plus granular permissions over Gen AI tools to ensure compliance. Marketers can also set up brand themes/kits to enforce their style guides and take advantage of content approval workflows to streamline the review process.
Image to HTML Conversion: Continuing with the email content theme, one of the coolest new updates is the ability for you to upload an image and have Marketo convert it into an HTML email. This really opens the floodgates for email creation. Whether you know how to code or not, you can now take a designed image of an email and instantly turn it into an editable template. Go from design to send faster than ever.
Adobe Experience Manager (AEM) Connector: Marketo now offers a native connector to AEM Assets, allowing you to embed images and files from AEM with a live asset link – when you change an asset, it auto-updates in all your Marketo emails and pages.
Adobe Express in Marketo: Adobe Express is also now embedded inside Marketo’s email editor. There will be full enterprise features like complete image editing capabilities and basic features like quick cropping and background removal.
Interactive Webinars with AI: Marketo’s Interactive Webinar platform is getting a bunch of AI-powered enhancements, including a new Gen AI assistant that helps webinar hosts manage live events. There will also be Simulive automation (pre-scheduled webinars can start/stop on its own) and automatic blog generation from your webinar recording
Dynamic Chat: Marketo’s chatbot also got some great enhancements. It now integrates with Demandbase, and chat interactions can directly update lead profiles in Marketo in real time. There’s also new conversion scoring, meaning you can score and trigger campaigns from chatbot engagement.
Adobe’s New AI Agents: We won’t go into much detail here, as we just published an entire article on this topic, but the big theme of Summit this year was Agentic AI. In Marketo, the notable one is the Marketo Journey Builder agent, an AI co-pilot that helps you design and optimize lead journeys.
![]()
The Most Overlooked Marketo Updates from Summit 2025
Now let’s move on to some of the newly announced Marketo features that didn’t get as much fanfare. These are super impactful updates that Marketing Ops pros will love.
Salesforce CRM Sync: The Marketo Salesforce CRM is getting a complete overhaul. The new sync should be faster and more reliable, with fewer sync errors and delays. It can also handle larger datasets – a big win for enterprise-level revenue teams.
Revamped Analytics and Reporting: The Marketo Engage BI Analytics interface is also getting a refresh. It’ll come with a modern UI and snappier performance. You’ll see faster report generation and advanced visualization (like more interactive charts), making it easier to share data-driven insights.
Data-Related Updates
A handful of the recently announced Marketo updates are extremely useful data features that we wanted to group:
- Picklist Management for CRM – Admins will be able to define and manage acceptable picklist values for fields syncing from CRM, preventing mismatches and keeping data clean.
- Global Tokens – You will be able to create tokens at the global (or workspace) level that can be reused across multiple programs.
- Trigger Tokens – Tokens will be available for every Marketo Trigger. Added flexibility means fewer workarounds for real-time triggered campaigns.
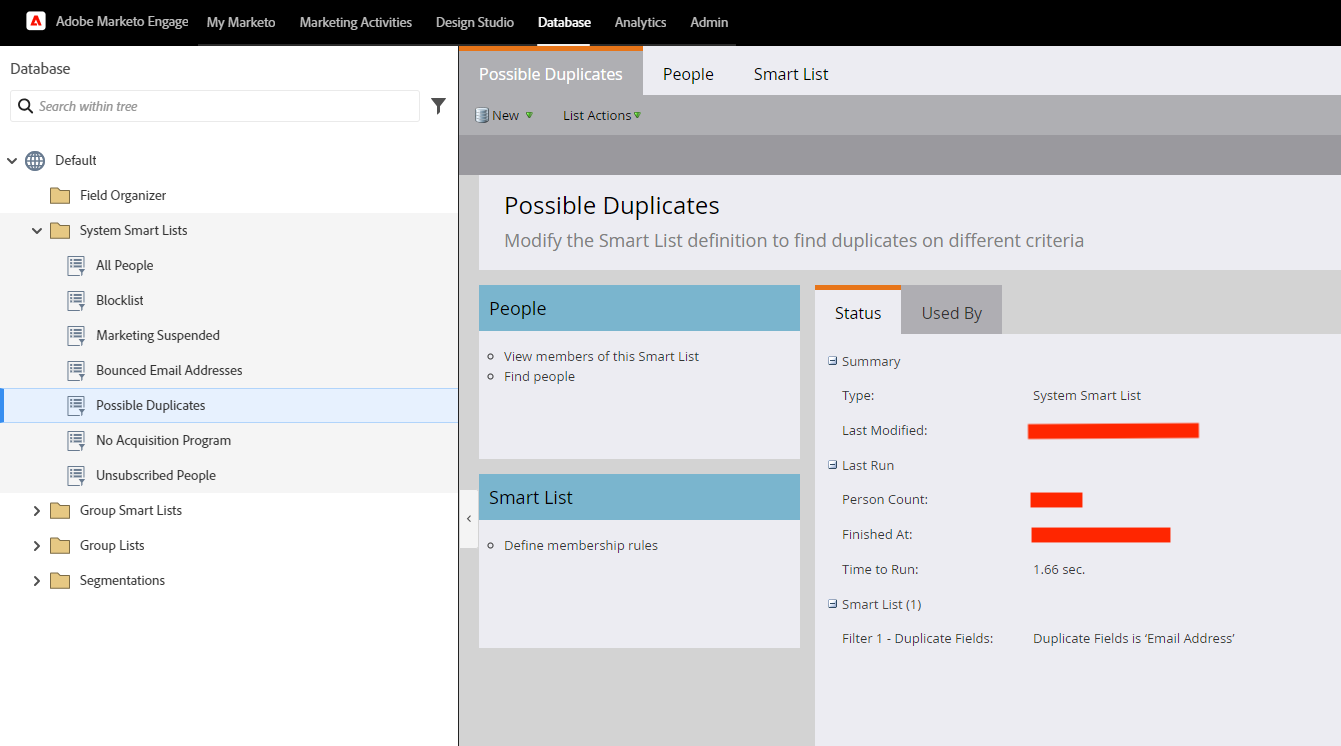
- Enhanced Duplicate Filters – Marketo improved its duplicate detection, allowing more custom fields (including CRM IDs) to be used in identifying dupes.
Litmus & SpamAssassin Integrations: Lastly, Marketo Engage now natively integrates with Litmus (for email previews) and SpamAssassin (for spam scoring). You can run email rendering tests across clients/devices via Litmus right from Marketo, and check your email’s spam score through SpamAssassin before sending.
![]()
And there you have it! Adobe definitely packed a lot of great stuff into the Marketo roadmap this year.
If you want a comprehensive overview of all the new features that were announced at Summit 2025, you can refer to the “Marketo Engage Roadmap: The Future of Marketing Automation” session available on Adobe’s official Summit website.
And if you have any questions about upcoming Marketo features, book a free call with one of our experts here!